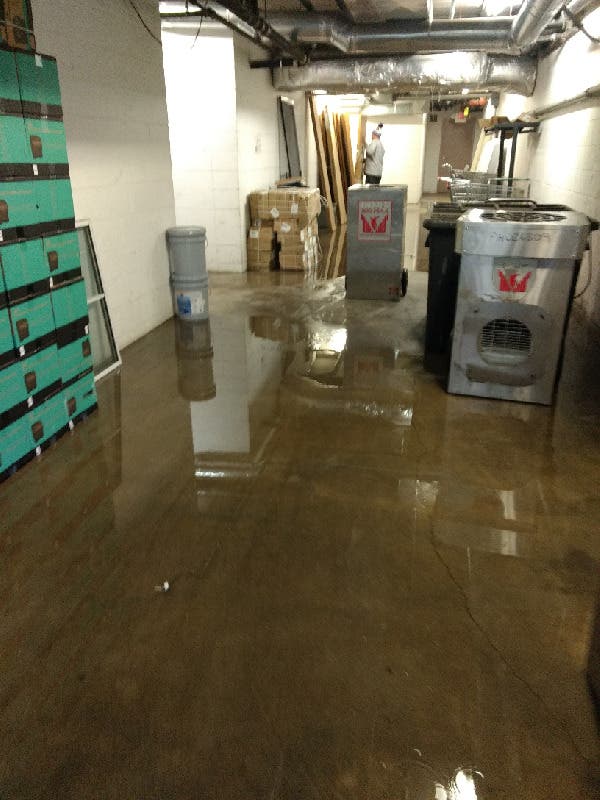
Water damage can be a nightmare for any homeowner. Whether it’s a burst pipe, a leaky roof, or a flooded basement, the aftermath of water damage can be both emotionally and financially draining. But if you act quickly and efficiently, you can minimize the damage and restore your home to its pre-loss condition. In this article, we’ll guide you through the water damage restoration process, from assessment to cleanup and restoration.
Assessing the Damage
The first step in water damage restoration is to assess the extent of the damage. This involves identifying the source of the water, determining the category and classification of the water, and evaluating the damage to the affected area.
Category refers to the type of water that caused the damage. Category 1 water is clean water, such as from a broken pipe or faucet. Category 2 water is contaminated water, such as from a dishwasher or washing machine. Category 3 water is highly contaminated water, such as from a sewage backup.
Classification refers to the extent of the damage. Class 1 is the least amount of water, while Class 4 is the most severe, with significant damage and potential structural damage.
Removing the Water
Once the damage has been assessed, the next step is to remove the water. Depending on the amount of water and the extent of the damage, this may involve using a wet-dry vacuum, pumps, or other specialized equipment. It’s important to remove the water as quickly as possible to prevent further damage and mold growth.
Drying and Dehumidifying
After the water has been removed, the next step is to dry and dehumidify the affected area. This involves using fans, dehumidifiers, and other equipment to remove moisture from the air and dry out the affected surfaces. It’s important to continue drying until all surfaces are completely dry, as any remaining moisture can lead to mold growth and further damage.
Cleaning and Sanitizing
Once the area is dry, the next step is to clean and sanitize the affected surfaces. This involves removing any remaining debris and dirt, as well as disinfecting the area to prevent mold growth and other health hazards. Depending on the type of water and the extent of the damage, this may involve using specialized cleaning products and equipment.
Restoration
Finally, the last step in the water damage restoration process is to restore the affected area to its pre-loss condition. This may involve repairing or replacing damaged materials, such as drywall, flooring, and insulation. It’s important to work with a professional restoration company that has experience in water damage restoration to ensure that the restoration is done properly and safely.
Conclusion
Water damage can be a stressful and overwhelming experience, but with the right knowledge and support, you can minimize the damage and restore your home to its pre-loss condition. Remember to act quickly, assess the damage, remove the water, dry and dehumidify, clean and sanitize, and restore the affected area. And if you’re ever in doubt, don’t hesitate to contact a professional water damage restoration company for help.
patch.com
https://patch.com/minnesota/minneapolis/classifieds/gigs-services/358416/dealing-with-water-damage-a-guide-to-water-damage-restoration


